Setting up a Brother printer might seem a bit tricky at first, especially if you're not used to handling tech gadgets. But don’t worry — it's actually much simpler than it sounds. Whether you've just unboxed a brand-new device or you're reconnecting it after a reset, this friendly step-by-step guide will make the process smooth and stress-free. You don’t need to be a tech expert to get started. With just a little time and patience, you’ll complete the Setup Brother Printer process easily and be ready to print wirelessly or via USB in no time.
If you ever feel stuck during the setup, don’t hesitate to call +1 (888) 768-3855 for fast and friendly support.
1. Unbox Your Brother Printer
First things first — let’s open the box and take everything out. Here’s what you should see inside:
- The printer
- Power cord
- Ink or toner cartridges
- Setup CD (optional)
- User manual
- USB cable (optional, depending on the model)
Tip: Keep the box and packaging materials just in case you ever need to move the printer or return it.
Once you have everything, place the printer on a flat, stable surface near your computer or Wi-Fi router. Make sure there's enough space for paper to come out freely.
2. Plug It In and Turn It On
Now, plug the power cord into the back of the printer and the other end into a wall socket.
Press the power button to turn it on. Most Brother printers will take a minute or two to warm up. You might hear a few sounds as it gets ready — that’s normal.
Once it’s ready, the printer will show you a welcome screen or ask you to choose your language. Use the arrow keys or touchscreen to pick your language and other settings like time and date.
3. Install Ink or Toner Cartridges
Brother printers either use ink cartridges (for inkjet models) or toner cartridges (for laser models). Follow the steps below:
For Inkjet Printers:
- Open the ink cartridge door (usually in the front).
- Remove the plastic seals from the cartridges.
- Insert each cartridge into its correct slot (usually marked with color labels).
- Close the ink door.
For Laser Printers:
- Open the toner door.
- Take out the drum unit (if it’s packed separately).
- Shake the toner gently side to side to spread the powder evenly.
- Insert the toner into the drum and then slide the whole unit into the printer.
- Close the door.
The printer may take a minute to recognize the cartridges and run a cleaning or setup cycle.
4. Load Paper into the Tray
Next, open the paper tray, usually found at the bottom front of the printer.
- Adjust the paper guides to fit your paper size (A4 or Letter).
- Load some plain paper into the tray.
- Push the tray back in.
Make sure the paper is not wrinkled or torn. It should sit flat in the tray.
5. Connect the Printer to Your Computer or Wi-Fi
Now that your printer is ready, it’s time to connect it to your computer or Wi-Fi network. You can do this in a few different ways, depending on your model and how you want to print.
Option 1: Connect with a USB Cable
This is the simplest method if you want to connect directly to one computer.
- Plug the USB cable into the printer and then into your computer.
- Your computer may automatically detect the printer and install the driver.
- If not, go to the Brother official website and download the driver for your model.
Once installed, your printer is ready to use.
Option 2: Connect Using Wi-Fi (Wireless Setup)
If you want to print from your phone, laptop, or multiple devices, wireless is the best way. Here’s how to set it up:
Step-by-Step Wi-Fi Setup:
- On your printer’s control panel, go to Settings Network WLAN Setup Wizard.
- The printer will search for nearby Wi-Fi networks.
- Select your network name (SSID) from the list.
- Enter your Wi-Fi password using the screen (use the keypad or touchscreen to type it in).
- Wait for the printer to connect. It may take a minute.
- Once connected, the printer will show a confirmation.
Note: Make sure your computer or phone is on the same Wi-Fi network for wireless printing to work.
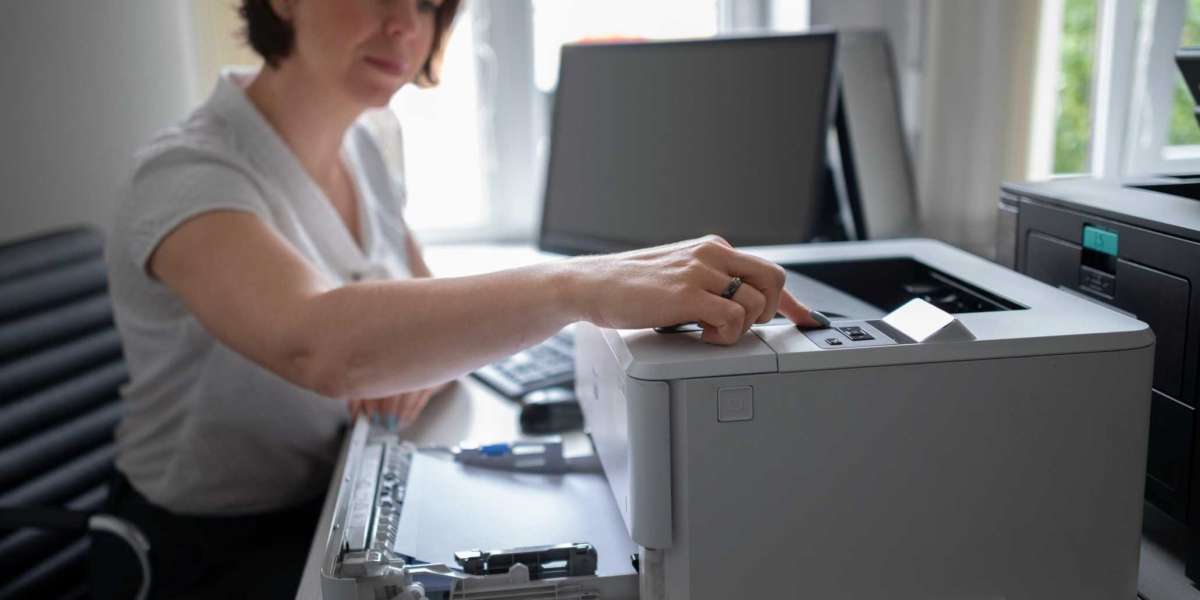
6. Install the Printer Software and Driver
Even after connecting, you still need to install the printer driver. This lets your computer talk to the printer properly.
Here’s how to do it:
- Go to the Brother Support Website.
- Enter your printer model (like Brother HL-L2350DW or Brother MFC-J995DW).
- Choose your operating system (Windows, Mac, etc.).
- Download the Full Driver Software Package.
- Open the downloaded file and follow the on-screen instructions.
During setup, it may ask if your printer is connected via USB or Wi-Fi. Choose the one you used.
Once installed, print a test page to check everything is working well.
7. Install the Brother Mobile App (Optional but Helpful)
Brother also offers a free mobile app called Brother iPrintScan. It works for both Android and iPhone. With this app, you can:
- Print directly from your phone
- Scan documents and save them on your phone
- Check ink levels
- Manage printer settings
Just download the app from the Play Store or App Store, open it, and it will detect your Brother printer if both are on the same Wi-Fi.
8. Print a Test Page
This step helps you confirm everything’s working.
- Go to your computer’s Control Panel Devices and Printers
- Right-click your Brother printer click Printer Properties
- Click the Print Test Page button
If the page prints successfully, congratulations — your Brother printer is ready to use!
9. Troubleshooting Tips
If something doesn’t work, don’t worry. Try these quick tips:
- Wi-Fi won’t connect? Double-check the password and make sure the router is working.
- Printer not found on the computer? Make sure the driver is installed correctly.
- Paper jams? Open the back or inside door and gently remove the jammed paper.
- Blurry or faint prints? Try cleaning the printhead or checking ink/toner levels.
You can also restart your printer and router — that fixes many small issues.
10. Keep Your Printer Updated
Brother sometimes releases firmware updates for better performance. You can check for updates through the printer software or the Brother support website.
Keeping your software and firmware up to date can help avoid future problems.
Conclusion
Setting up a Brother printer is easier than you might think. Whether you’re using it for home, school, or office, the steps are pretty simple when you follow them one at a time. From unboxing and plugging in, to connecting it to Wi-Fi and printing a test page — everything can be done in just 15–30 minutes.
If you ever get stuck, Brother's website and user manual are helpful, and their support team can guide you too.