When it comes to interior walls, nothing defines a clean, finished look more than proper drywall installation. Whether you're renovating a room, finishing a basement, or building a new home, understanding the process of installing drywall can save time, money, and frustration. This guide is tailored to help homeowners make informed decisions—from selecting materials to applying the final coat of paint.
Understanding the Basics of Drywall
Drywall, also known as wallboard or gypsum board, is a standard material used to create interior walls and ceilings. It provides a smooth surface for paint or wallpaper and adds essential fire resistance to your home. The sheets are composed of a gypsum core sandwiched between two layers of paper, making them easy to cut and install.
In La Center, WA, where seasonal moisture levels can vary, choosing the right type of drywall is especially important. Options include standard drywall, moisture-resistant versions often used in bathrooms and kitchens, and fire-rated varieties designed for enhanced safety. Your selection should match the room’s purpose and the expected level of wear and tear.
Planning Your Drywall Installation Project
Before diving into drywall installation, it's essential to plan carefully. Start by measuring the space where you’ll be working. This allows you to calculate how many sheets you’ll need and estimate the cost of materials.
You'll also need tools such as:
- Drywall saw or utility knife
- T-square or straightedge
- Drywall screws and screw gun
- Joint compound and taping knives
- Sanding sponge or pole sander
Proper planning minimizes waste and ensures a smoother workflow throughout your project.
Step-by-Step Drywall Installation Process
1. Preparing the Area
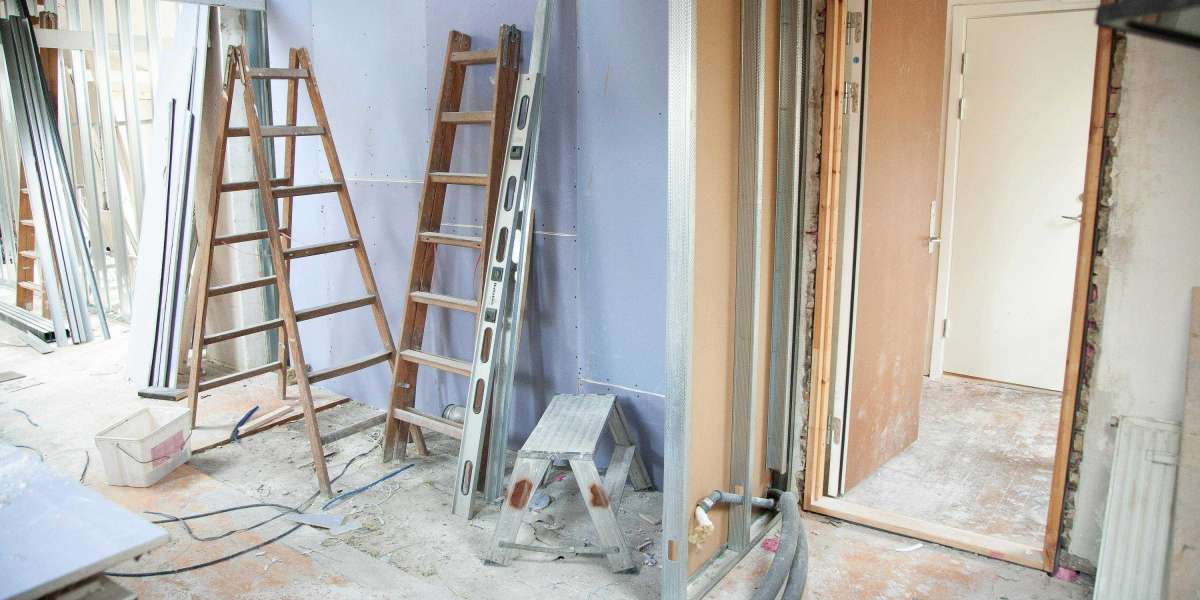
Ensure the wall framing is level and secure. Any damaged or warped studs should be replaced before hanging drywall sheets. Turn off electrical circuits and protect outlets with safety covers.
2. Hanging the Drywall
Always install the top sheet first and work your way down. Start with the ceiling, then move to walls. Fasten sheets using drywall screws spaced every 12–16 inches along studs. If working alone, a drywall lift or second pair of hands will be incredibly helpful.
3. Taping and Applying Joint Compound
Once the sheets are secure, it's time to conceal seams and screw holes. Use mesh tape or paper tape over joints and apply joint compound evenly. Let it dry fully before sanding, and repeat this process for at least two additional coats for a smooth finish.
4. Sanding and Final Touches
After the compound dries, sand the surface lightly to remove imperfections. Wipe the dust away with a damp cloth, and you're ready to prime and paint.
Common Drywall Repair Scenarios
Even with proper installation, walls can get damaged over time. Here are some common problems and how to address them:
Patching Drywall Holes
Small holes from nails or screws can be filled using spackle for small holes. For larger holes, a drywall patch kit that includes mesh and compound may be necessary.
Fixing Wall Cracks
Cracks often appear due to settling or structural shifts. To repair them, open the crack slightly, apply compound, and sand it after it dries. Reinforce with tape if needed.
Repairing Water-Damaged Drywall
If your drywall becomes soft, stained, or moldy, it likely has water damage. You’ll need to cut out the affected section and replace it. Always resolve the source of moisture before replacing any drywall.
Ceiling Drywall Issues
Sagging or cracking on the ceiling? This could be due to insufficient support or water damage. Ceiling drywall repair often involves replacing entire sections and ensuring framing support is adequate.
Tips for a Successful Installation
- Always stagger drywall seams for added strength.
- Use longer sheets to reduce the number of joints.
- Don’t over-tighten screws, as it weakens the sheet.
- Wear a mask when sanding to avoid inhaling fine dust.
- Use corner beads for sharp, professional-looking corners.
What Homeowners Should Know Before Installing Drywall
Humidity fluctuations can significantly impact the performance of interior materials. For spaces like basements, bathrooms, and laundry rooms, moisture-resistant drywall is highly recommended to avoid long-term problems such as mold or warping. If you're updating an older home or tackling a remodel, always inspect existing materials for signs of damage or decay before beginning any installation.
Depending on your project's scale, permits may be required. Hiring knowledgeable professionals who understand local building regulations helps ensure your project runs smoothly and stays compliant. One well-regarded team known for quality interior work is VDC Builders Inc, trusted for detailed craftsmanship and reliable execution.
Final Thoughts
Whether you're building a new home or giving your current one a facelift, drywall installation plays a crucial role in shaping your space. Understanding the process empowers you to make better decisions and helps prevent costly mistakes. From choosing the right materials to patching up small holes, getting it right the first time ensures a durable, smooth surface that looks great for years.
For larger projects or more complex repairs, don't hesitate to contact experienced professionals. Proper installation, combined with the right tools and techniques, transforms any room into a polished, inviting space.
Frequently Asked Questions
- How long does drywall installation take in an average room?
Most standard rooms can be completed in 1–2 days, depending on size and drying time for compound layers. - What’s the difference between joint compound and spackle?
Spackle is used for minor surface fixes, while joint compound is ideal for finishing seams and larger repairs. - Can I repair a small hole without replacing a full sheet?
Yes, using a drywall patch kit or spackle is often enough for minor holes or dents. - When should I replace water-damaged drywall?
If the surface is soft, stained, or moldy, it’s best to cut it out and replace it after addressing the water source. - Is it safe to DIY ceiling drywall repair?
Smaller patches are manageable, but large ceiling repairs may require help due to the weight and height involved.


