Driveway Pressure Cleaning In Sydney
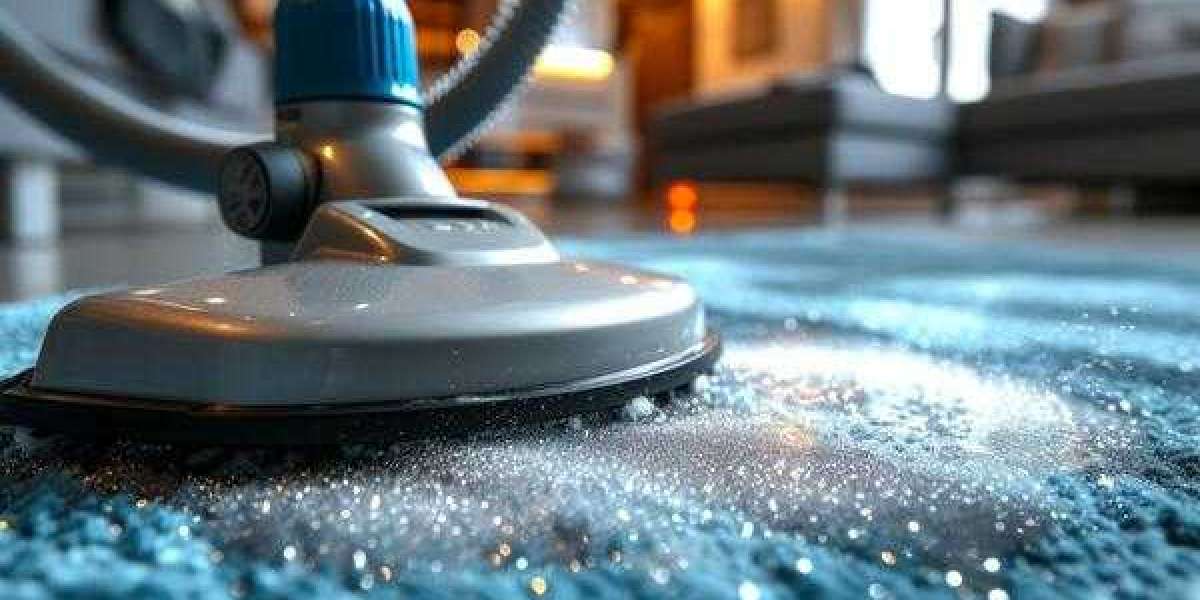
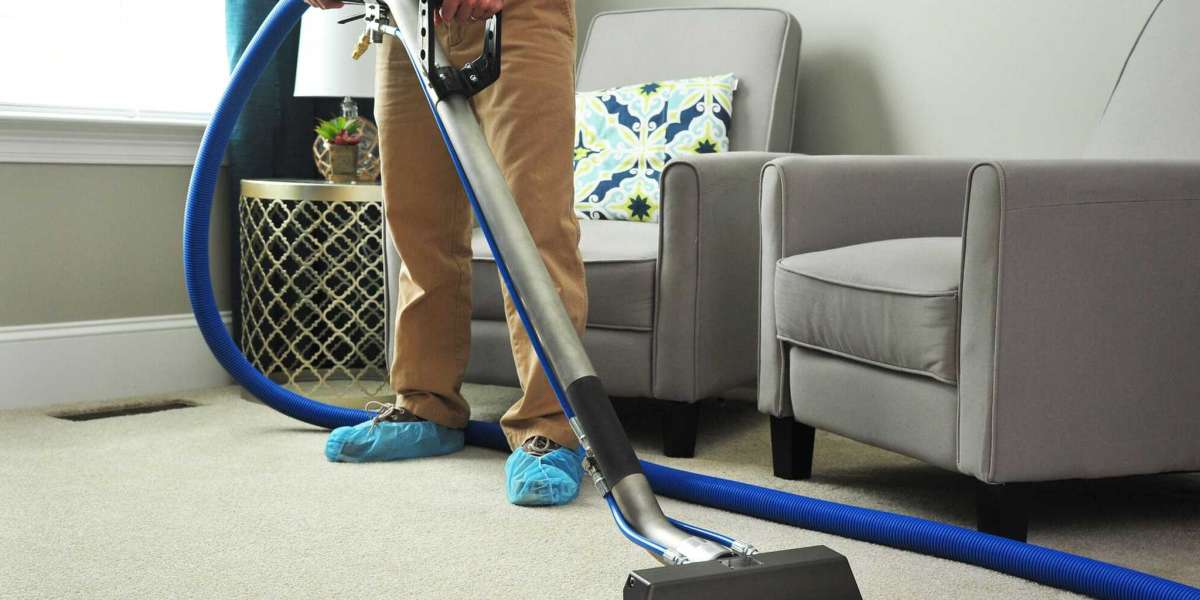
Driveway pressure cleaning Sydney revitalizes concrete, paver, and asphalt surfaces by removing built-up dirt, oil stains, mould, algae, and tyre marks using high-pressure water streams. This process enhances curb appeal, reduces slip hazards, and prepares surfaces for sealing, potentially extending their lifespan by preventing contaminant damage. Professionals typically use equipment rated 2,000-4,000 PSI with surface cleaners for even results, avoiding wand marks. Costs range from $200-500 for a standard driveway, influenced by size, material, and stain severity. It's safe when done correctly but risks etching unsealed concrete or eroding paver joints if pressure is excessive. Schedule annually in humid climates to combat biological growth. Always contain runoff to protect local waterways, as per environmental guidelines like those from stormwater authorities.
What Driveway Pressure Cleaning Actually Means (and What It Does Not)
Driveway pressure cleaning uses controlled water jets to strip away contaminants from hard surfaces. It targets dirt films, tyre marks, and biological growth without chemicals in basic applications, though pros may add mild degreasers for tough stains. This differs from soft washing, which uses lower pressure and solutions for delicate areas. It is not a full restoration; it won't repair cracks or resurface worn areas. Nor is it a one-time fix—regular sessions maintain results. Misconceptions include assuming it always requires harsh chemicals or that it's purely cosmetic. In reality, it improves traction by removing slippery algae and preps for protective coatings, combining functionality with aesthetics.
Driveway Pressure Cleaning Results You Can Expect
Expect a noticeably brighter driveway post-cleaning, with stains reduced by 80-95% on average. Oil marks fade but may need multiple treatments if deeply embedded. Timelines vary: a 500 sq ft area takes 1-2 hours for pros using surface cleaners. Limitations include incomplete removal of efflorescence on new concrete or paint overspray without specialized solutions. Results last 6-18 months depending on traffic and weather; unsealed surfaces re-stain faster. You might notice enhanced drainage as grime clogs are cleared, but expect minor water pooling during the process. For optimal longevity, pair with sealing—cleaned surfaces absorb sealants better, potentially adding years before major repairs.
Driveway Surface Guide: What Method Suits What Material
Driveways are not one single surface type, so one pressure setting or one technique does not work safely for every property. Concrete, exposed aggregate, stamped finishes, pavers, brick, and natural stone all react differently to water pressure, water flow, heat, and cleaning solutions. If the method is too aggressive, you can end up with etched concrete, lifted sealers, dislodged aggregate, stripped joint sand, weakened mortar, or patchy “wand lines” that make the driveway look worse than before.
Concrete
Plain concrete usually tolerates higher pressure, but exposed aggregate and stamped finishes need gentler settings and a test patch. Sealed concrete should be cleaned with lower pressure to avoid dulling or lifting the coating.
Pavers and Joints
Pavers can lose joint sand if pressure is too high, so use moderate pressure with wide nozzles or a surface cleaner. Pre-wet joints, avoid blasting directly into gaps, and top up joint sand after cleaning if needed.
Brick and Natural Stone
Brick needs controlled pressure to protect mortar and edges. Natural stone varies, so avoid direct high-pressure blasting and use even, distributed cleaning, especially on older or weathered surfaces.
What Causes Common Driveway Stains
Driveway stains usually build up from a mix of everyday traffic, weather exposure, nearby vegetation, and organic growth. Cars track in fine dirt and road grime, then small leaks and drips add oils, coolant, and other fluids that soak into porous concrete or sit on the surface of pavers. Tyres leave rubber marks and dark scuffs, especially on turning points and at the garage entry where heat and friction increase.
Oil and Grease
Vehicle leaks cause dark spots; degreasers with dwell time break them down, but porous unsealed surfaces absorb deeply, leading to reappearance after rain.
Tyre Marks and Traffic Film
Rubber residues from tyres build up; pressure removes them, but high-traffic areas see quick return without sealing.
Mould, Algae, and Lichen
Humid conditions foster green-black growths; they return if shade or poor drainage persists. Cleaning kills surface layers, but spores linger without preventive treatments.
Rust and Tannin Stains
Metal runoff or leaf debris causes orange-brown marks; acidic pre-treats dissolve them, but recurrence happens near trees or metal fixtures.
You might notice dark streaks after rain—what it usually means is reactivated tannins from uncleaned organic matter, signaling need for thorough rinsing.
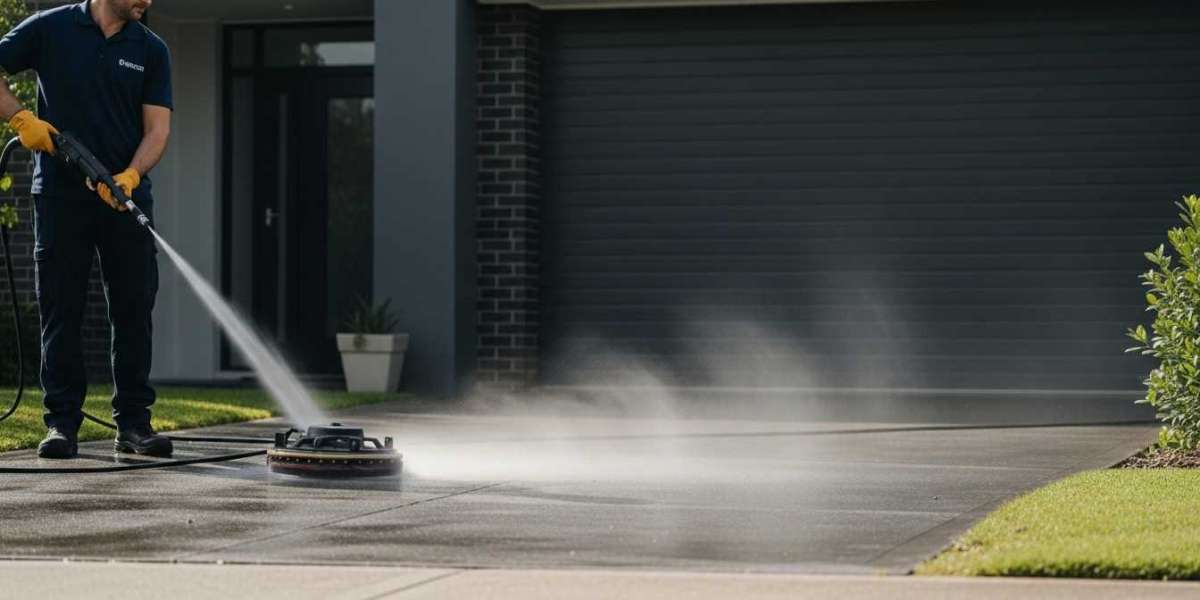
Professional Pressure Cleaning Process Overview
A professional pressure cleaning job follows a repeatable workflow designed to deliver an even finish while protecting the surface, nearby areas, and property access points. Instead of relying on high pressure alone, technicians use a method that balances surface type, stain severity, water flow, and controlled technique. This approach helps prevent common issues like patchy results, visible wand lines, etched concrete, lifted coatings, or water pushing into joints and gaps. A structured process also supports accurate quoting and smoother scheduling because the team can identify risks early, plan the right equipment, and set clear expectations before work begins.
Inspection and Test Patch
This stage is about choosing the safest and most effective method before committing to a full clean. Technicians identify the surface material, its condition, and any weaknesses such as cracks, loose joints, flaking paint, worn sealers, or fragile edges. They also evaluate what kind of staining is present, such as organic growth, traffic film, grease, tannin marks, or embedded dirt, because each behaves differently during cleaning. A test patch is then completed in a small area to confirm the best combination of pressure, nozzle choice, distance, and movement pattern.
Pre-Treatment and Dwell Time
Pre-treatment is used to loosen grime and break down staining so the job does not depend on aggressive pressure. The right solution is applied based on what is on the surface, and it is given time to work before rinsing. Dwell time is controlled so the product can lift buildup without drying out too quickly or spreading residue into surrounding areas. Done correctly, pre-treatment improves the final appearance, reduces cleaning time, and lowers the risk of surface damage because less force is needed to achieve a deep cleaning.
Controlled Wash and Rinse
This is where the cleaning is performed in a measured, section-by-section way to keep results even and reduce surface stress. Flat areas are often cleaned with surface cleaners for uniform coverage, then detailed edges, corners, steps, joints, and tight spots are finished with controlled wand work. Pressure is typically started lower and adjusted only when the surface can handle it and the staining requires it.
Post-Clean Checks and Recommendations
After cleaning, the team performs a final inspection to confirm full coverage and identify any areas that need light touch-ups. This is also the point where professionals check for surface concerns that may not be obvious before cleaning, such as joint weakness, coating wear, or deep staining that may require a second visit or a different treatment. Recommendations may include sealing for porous surfaces, minor repairs to prevent water intrusion, or a maintenance schedule to stop buildup returning quickly.
Pressure Cleaning Safety and Property Protection
Pressure cleaning involves hazards like high-velocity water causing cuts or slips from wet surfaces. Use PPE including goggles, gloves, and non-slip boots. Keep pets and people at least 10 feet away. Protect landscaping with barriers to avoid plant damage from overspray. Address slip risks by clearing algae first and ensuring dry times post-clean. Follow guidelines like those from Safe Work Australia on high-pressure water jetting for risk management.
Runoff Control and Environmental Care
Runoff from cleaning can carry contaminants into storm drains, harming waterways. Use containment methods like berms or vacuums to collect water. Opt for biodegradable detergents to minimize impact—surfactants break down faster. Examples include diverting flow to grassy areas for natural filtration or using filters. Always check local regulations, such as stormwater guidelines from authorities like the EPA on urbanization and stormwater runoff, and comply to avoid fines.
FAQs
- How often should I pressure clean my driveway?
Annually in humid areas to prevent mould buildup, or every 2 years in drier climates.
- Can pressure cleaning damage my driveway?
Yes, if PSI is too high—use 1,500-3,000 PSI max, per material, to avoid etching.
- What's the difference between pressure washing and soft washing?
Pressure uses high PSI for hard surfaces; soft uses chemicals and low pressure for delicate ones.
- How much does driveway pressure cleaning cost?
$200-500 for average sizes, varying by material and stains.
- Is pressure cleaning environmentally friendly?
With biodegradable solutions and runoff control, yes—follow guidelines to protect waterways.
- What removes oil stains from driveways?
Degreasers with dwell time, followed by pressure rinse; repeat for deep stains.
- Should I seal my driveway after cleaning?
Yes, it protects against stains and extends life; clean surfaces absorb better.
- How long does pressure cleaning take?
1-3 hours for standard driveways, depending on size and prep.
- Can I pressure clean asphalt driveways?
Yes, but low PSI (under 1,500) to avoid pitting.
- What causes black spots on driveways?
Often mould or algae; clean promptly to prevent spread.