Unlock the Secrets of Reverse Osmosis: Transform Your Kitchen Sink Today!
In a world where clean drinking water is becoming increasingly essential, reverse osmosis (RO) systems have emerged as a popular solution for households seeking purification. Specifically designed for kitchen sinks, these systems offer a comprehensive method to ensure that the water you consume is free from impurities and harmful contaminants. As more families prioritize health and sustainability, the installation of reverse osmosis kitchen sink systems has surged, transforming ordinary kitchen sinks into powerful water purification stations. In this article, we will delve into the workings, benefits, installation, and maintenance of reverse osmosis systems, guiding you through the journey of enhancing your kitchen's water quality.
Understanding Reverse Osmosis
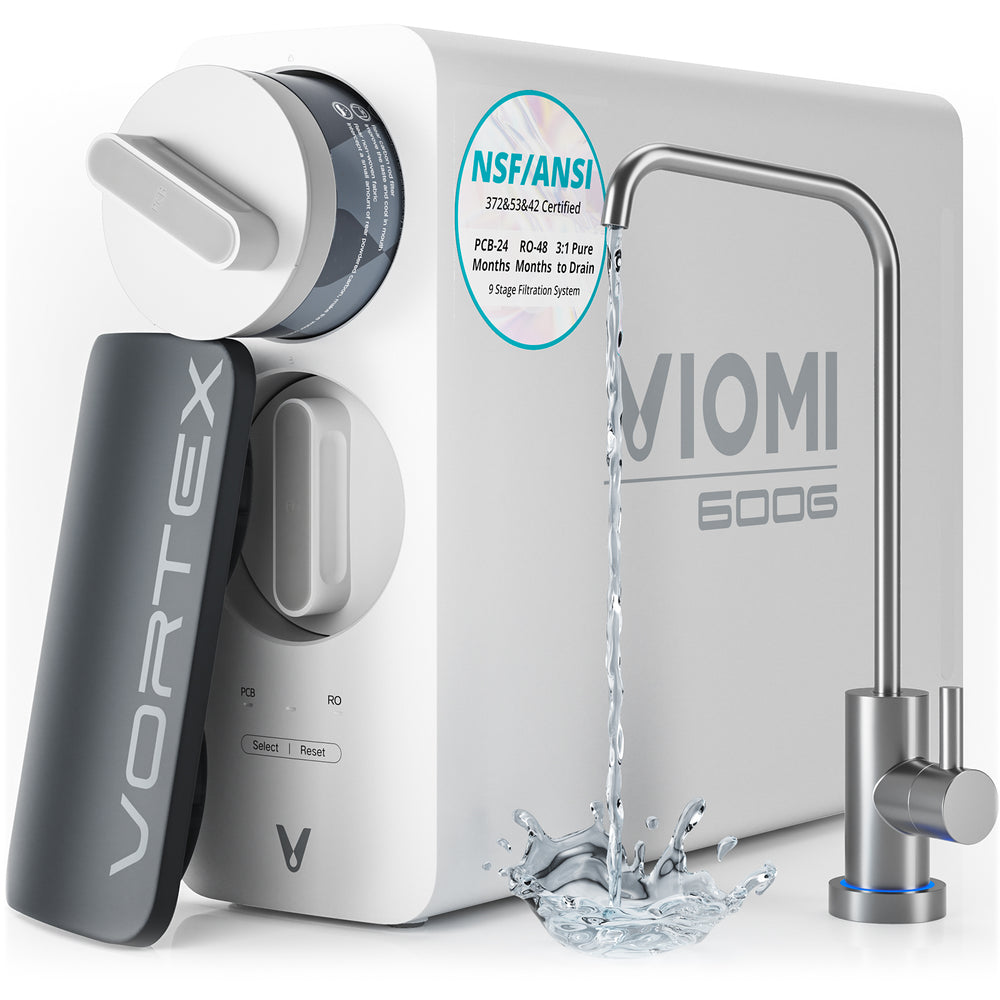
At its core, reverse osmosis is a water purification process that uses a semi-permeable membrane to remove larger particles, contaminants, and impurities from drinking water. The process works by applying pressure to the water, forcing it through the membrane, which only allows water molecules to pass while blocking out substances like salts, lead, and chlorine. A typical reverse osmosis system for kitchen sinks consists of several components: the pre-filter, which removes larger sediments; the RO membrane, which is the heart of the system; and post-filters that enhance the water's taste before it reaches your tap. This multi-stage filtration ensures that the water you drink is not only clean but also tastes refreshing. Understanding how these components work together can help you appreciate the value of having a reverse osmosis system in your kitchen.
Benefits of Reverse Osmosis Systems for Kitchen Sinks
The advantages of installing a reverse osmosis system in your kitchen sink are substantial. One of the most notable benefits is the significant improvement in water quality. Many users report a noticeable difference in taste, often describing it as crisp and pure compared to tap water. This enhancement in flavor is not just subjective; it stems from the removal of contaminants that can alter the water's taste. Moreover, using a reverse osmosis system can contribute to better health, as it eliminates harmful substances such as heavy metals and chlorine byproducts. On a broader scale, utilizing reverse osmosis can also have a positive environmental impact. By reducing reliance on bottled water, families can cut down on plastic waste, making a commitment to more sustainable living practices. This blend of health benefits and environmental consciousness makes RO systems a compelling choice for any modern kitchen.
Installation Requirements and Considerations
Installing a reverse osmosis system in your kitchen sink can seem daunting, but with the right guidance, it’s a manageable DIY project. The installation typically requires basic tools such as a wrench, drill, and a few plumbing supplies. Before you start, it’s crucial to ensure that you have sufficient under-sink space for the system components, which usually include the tank and the filters. One common challenge during installation is connecting the system to your existing plumbing; it often requires an adapter to fit the sink faucet. Additionally, some homeowners may encounter difficulty in finding the right location for the drain line, which is essential for discarding waste water. By preparing for these challenges and having a clear installation guide at hand, you can successfully set up your reverse osmosis system and enjoy the benefits of purified water in no time.
Maintenance and Care for Reverse Osmosis Systems
To ensure your reverse osmosis system continues to function optimally, regular maintenance is key. Most systems require filter replacements every six to twelve months, depending on your water quality and usage. It’s advisable to keep a maintenance log to track when each filter was changed to avoid any lapse in purification efficiency. Additionally, periodic checks of the system's components, such as the RO membrane and storage tank, can help identify any potential issues before they escalate. Some users, like my friend Sarah, have found that setting a calendar reminder for maintenance tasks has made upkeep much easier, ensuring her family always has access to clean water. By committing to this routine care, you can prolong the lifespan of your reverse osmosis system and maintain the high-quality water it provides.
Enhancing Your Kitchen with Reverse Osmosis
In summary, reverse osmosis systems offer an effective solution for enhancing water quality in your kitchen. From the comprehensive filtration process to the numerous health and environmental benefits, it’s clear that investing in such a system is a step towards better living. With relatively straightforward installation and maintenance, these systems can transform your kitchen sink into a source of pure, refreshing water. As you consider your options for home water purification, remember that cleaner water is not just a luxury; it’s an essential component of a healthy lifestyle. Embrace the change and make the switch to a reverse osmosis system today!