Hardwood flooring is one of the most durable and visually appealing flooring options, but even the strongest floors are not immune to damage. Over time, everyday activities such as walking, moving furniture, or accidental spills can lead to scratches, dents, and small damaged areas. In many Beverly Hills homes, homeowners prefer repairing these issues early instead of opting for a full Hardwood floor replacement especially when the damage is limited to specific sections and the rest of the floor is still in good condition.
Understanding how to properly repair hardwood floors can help extend their lifespan, maintain their appearance, and save significant costs over time.
Understanding How Hardwood Floor Damage Happens
Hardwood floors are constantly exposed to pressure and movement, which makes them vulnerable to gradual wear. One of the most common causes of damage is furniture being moved without protective pads, which creates scratches and scuff marks on the surface.
Dust, sand, and small debris also act like abrasives and slowly wear down the finish layer. Pets can contribute as well, as their claws may leave visible scratches over time.
Moisture is another major factor. If water or liquid spills are not cleaned quickly, they can seep into the wood and cause swelling, staining, or long-term warping. In severe cases, the damage may become extensive enough that floor replacement is considered as a long-term solution.
How to Properly Assess Floor Damage
Before starting any repair work, it is important to carefully evaluate the extent of the damage. Not all issues require major repairs. Surface-level scratches often only affect the finish and can be resolved with simple touch-up methods.
Deeper dents or gouges that penetrate the wood may require filling or partial board repair. However, if multiple planks are affected or the structure has weakened, professional evaluation may need to be considered for a more permanent solution.
A proper assessment ensures that time and effort are not wasted on temporary fixes when more durable solutions are needed.
Essential Tools for Hardwood Floor Repair
- Wood filler or epoxy repair compound for deeper damage
- Fine and medium grit sandpaper for smoothing surfaces
- Putty knife for precise filler application
- Soft cloth for cleaning and finishing
Having the right tools makes the repair process smoother and improves the final result significantly.
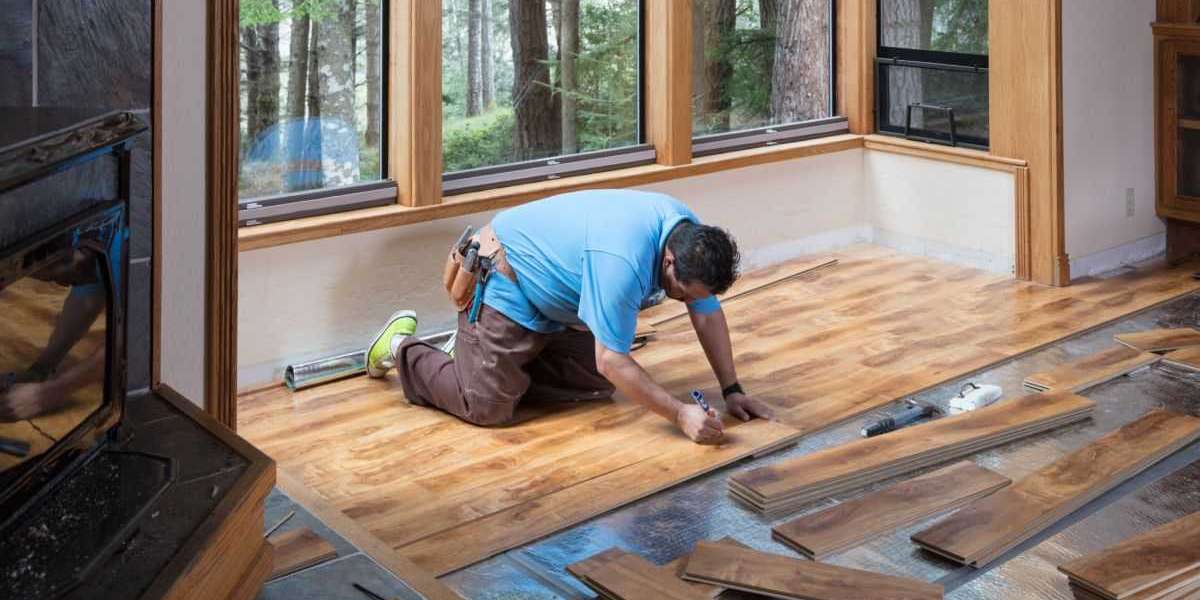
Step-by-Step Guide to Repairing Hardwood Floors
Start by thoroughly cleaning the damaged area. Dust, dirt, and debris must be removed to ensure proper adhesion of repair materials.
For small scratches or shallow dents, apply wood filler using a putty knife. Spread it evenly and ensure it fully fills the damaged area. Once dry, sand it gently until the surface becomes smooth and level with the surrounding floor.
For deeper damage, apply filler in multiple thin layers instead of one thick application. Each layer should be allowed to dry before adding the next. This approach improves durability and prevents cracking.
In many cases, homeowners try this repair method before considering full floor replacement, especially when the rest of the flooring is still in good condition and only small areas are affected.
When Repair Is Not Enough
There are situations where repair alone cannot restore the flooring. If the boards are deeply cracked, structurally weakened, or affected by long-term moisture exposure, patching may only provide a temporary solution.
When damage spreads across larger areas, replacing individual planks or sections becomes necessary. In extreme cases, a complete flooring renewal may be the only way to restore both appearance and structural integrity.
Common Mistakes to Avoid During Repair
Many DIY repairs fail due to simple mistakes such as overfilling damaged areas, skipping sanding after drying, or using incorrect stain colors. These errors can make the repair visible and reduce the overall quality of the floor.
Taking time during each step ensures a smoother and more professional-looking result.
How to Blend Repairs for a Natural Look
Blending is one of the most important steps in hardwood floor repair. Even a properly filled area can stand out if not matched correctly with the surrounding floor.
Using the right stain and finish helps the repaired section blend naturally. In some cases, light refinishing of nearby planks may be required to achieve a consistent appearance across the floor surface.
Preventing Future Hardwood Floor Damage
- Use furniture pads under heavy items to reduce scratches
- Clean spills immediately to avoid moisture absorption
- Regularly sweep or vacuum to remove abrasive particles
Good maintenance habits significantly reduce the risk of future damage and help extend the life of your flooring.
Benefits of Repair vs Full Replacement
Repairing hardwood floors is much more cost-effective than replacing the entire flooring system. It allows homeowners to maintain the original floor while fixing only damaged sections.
However, when damage becomes widespread or structural integrity is compromised, a full flooring renewal provides a long-term solution that restores both strength and appearance.
Summary
Hardwood floor repair is an effective way to restore damaged areas and extend the life of your flooring. With proper tools and careful technique, most minor issues can be fixed without professional help. When damage becomes severe or widespread, Hardwood floor replacement services ensures long-lasting durability, structural strength, and a completely refreshed floor appearance.