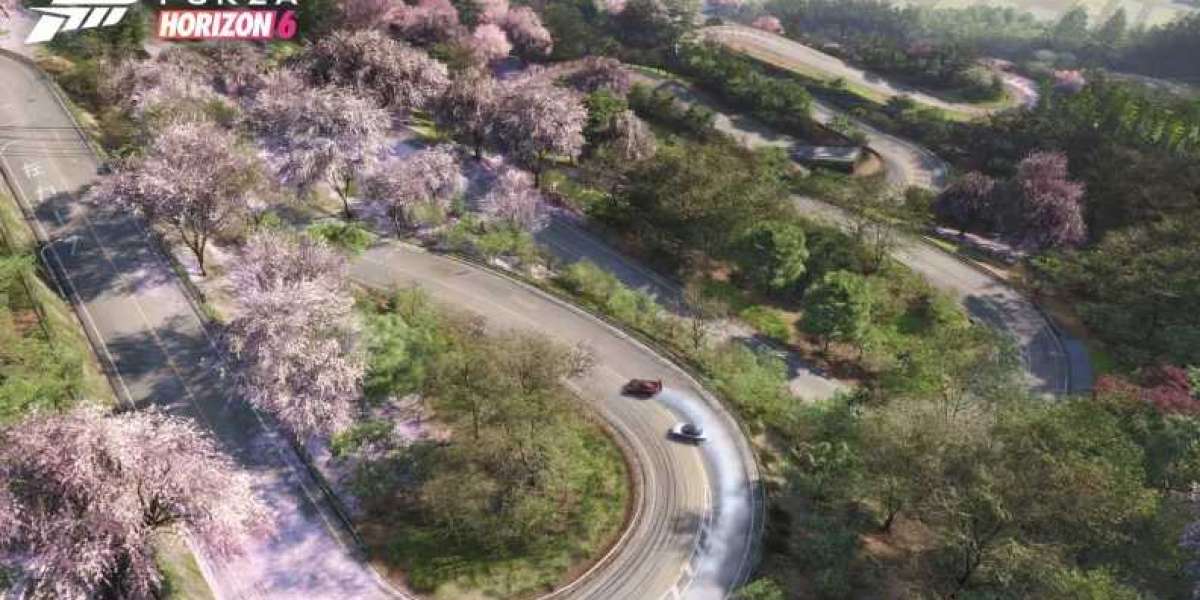
You don't need to wait for some late-game unlock before you start chasing collectibles in Forza Horizon 6. From the first proper drive, the whole map is fair game, which makes the hunt feel more like a side adventure than a checklist. There are 400 items in total, split evenly between 200 Regional Mascots and 200 Bonus Boards, and you'll bump into them while cutting across towns, mountain roads, forest trails, and awkward little paths you'd never normally use. It's also a handy way to learn the map, pick up routes you missed, and earn extra FH6 Credits through the bits of exploration you run into along the way.
How the Two Collectible Types Work
Regional Mascots and Bonus Boards are both smashed the same way: drive through them and they're done. The difference is how they make you look for them. Mascots tend to be sneakier. They won't always jump out at you from a main road, and some only become obvious once you're close enough for the minimap to help. Bonus Boards are usually easier to notice, but that doesn't mean they're always easy to reach. Some sit on rooftops, behind fences, on dirt slopes, or in places where you'll need a proper run-up and a bit of nerve.
Use the Map Without Letting It Become a Mess
The best thing about collectible tracking is that the game doesn't just wipe icons away and leave you guessing. Once you've destroyed something, its marker turns grey, so you can tell at a glance what's already been handled. That sounds minor, but after 80 or 100 boards, it saves a lot of wasted driving. Turn off the clutter you don't need, keep collectible filters active, and work through one area at a time. If you jump around randomly, you'll still get there, but you'll probably spend half your night checking places you've already cleared.
Treasure Map or Manual Hunting
Some players love finding everything the old-fashioned way, and fair enough. Community maps, screenshots, and video routes can get you through the full set without spending anything extra. It takes more patience, though, especially with Mascots that sit just far enough off the obvious road to be annoying. The Treasure Map is the faster route because it reveals every collectible location, along with other hidden finds such as Barn Finds and Treasure Cars. If you're trying to clean the map efficiently, it lets you plan proper loops instead of zigzagging across Japan every five minutes.
Cars, Fast Travel, and Smarter Routes
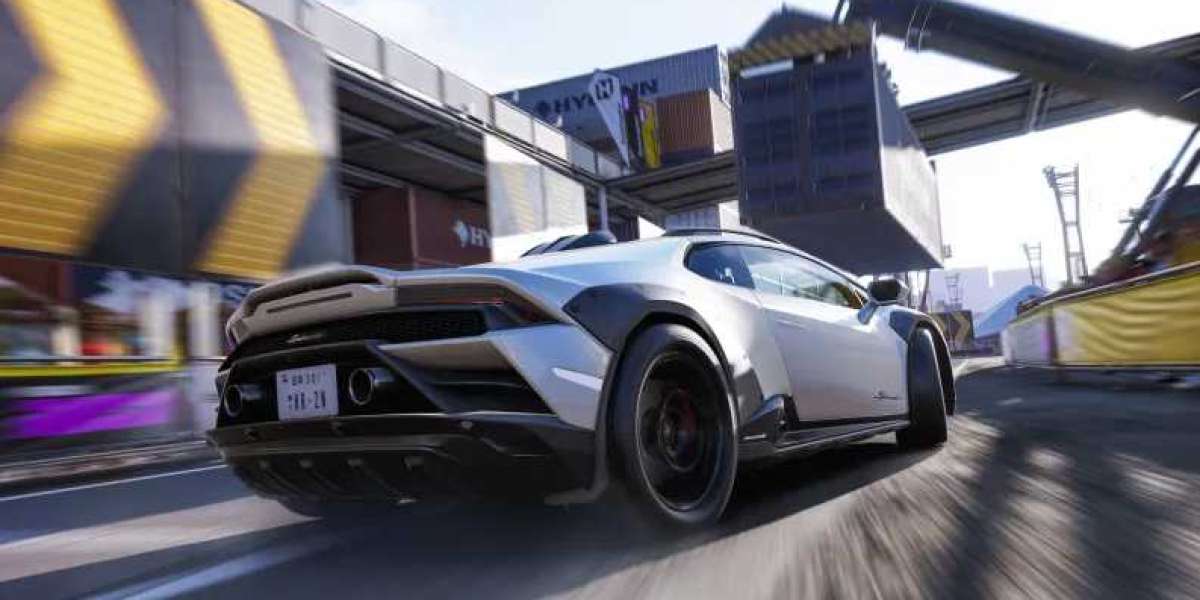
For collectible runs, you don't need the most elegant race build in your garage. You need something quick, stable, and not completely useless when the road disappears. A fast all-rounder with decent off-road grip will save more time than a fragile hypercar that spins out on grass. Fast Travel helps with lonely markers sitting miles away from your current route, while Autodrive is useful when you're moving between nearby clusters and don't feel like staring at the GPS line every second. Mix both, and the 400-item grind starts to feel much more manageable.
Final Thoughts
The smart approach is simple: clear regions in order, keep your map clean, and don't leave grey icons unchecked before moving on. Treat collectible hunting as part of your normal driving rather than a separate chore, and you'll discover shortcuts, photo spots, and weird little routes you'd miss during races. It's also a good excuse to test different Forza Horizon 6 Cars outside formal events, especially the ones built for mixed terrain. With a bit of planning, both collectible achievements become less of a grind and more of a proper tour across the map.