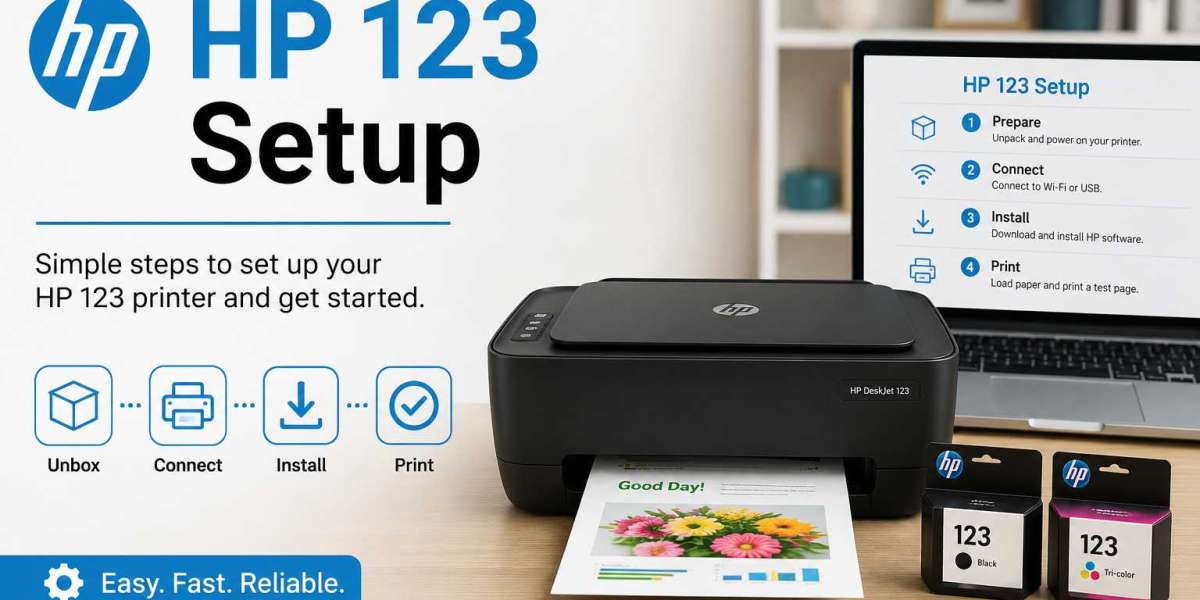
Setting up a new HP OfficeJet printer may seem challenging for first-time users, but the process becomes simple when you follow the correct steps. Whether you need a printer for home, office, or business purposes, completing the installation properly ensures smooth printing, scanning, and copying functions. During the installation process, the official HP 123 Setup method helps users connect their printer to a computer, laptop, or mobile device without technical complications.
From unpacking the printer to connecting it with Wi-Fi and installing drivers, every step plays an important role in achieving optimal performance. This guide explains the complete setup process in a simple and user-friendly way. By following the instructions carefully, users can avoid common installation issues and enjoy reliable printer performance from day one.
How Can You Prepare Your HP OfficeJet Printer Before Installation?
Before starting the installation process, the HP 123 Setup procedure becomes easier when the printer is prepared correctly. Proper preparation reduces setup errors and ensures a smooth experience.
Follow these essential preparation steps:
- Remove all packaging materials from the printer.
- Take off protective tapes and stickers.
- Connect the power cable securely.
- Turn on the printer using the power button.
- Install genuine HP ink cartridges.
- Load plain paper into the input tray.
- Check the printer control panel for any warning messages.
Once these basic tasks are completed, the printer is ready for software installation and network configuration. Taking a few minutes to prepare the device correctly can save time and prevent setup interruptions later.
What Are the Steps to Connect an HP OfficeJet Printer to Wi-Fi?
Connecting your printer to a wireless network allows convenient printing from multiple devices. During the connection process, the HP 123 Setup method helps establish communication between the printer and your network.
To connect the printer:
- Open the printer’s Wireless Settings menu.
- Select the Wireless Setup Wizard option.
- Choose your Wi-Fi network from the list.
- Enter the network password carefully.
- Confirm the connection settings.
- Wait until the wireless light becomes stable.
After successful connection, the printer can communicate with computers, smartphones, and tablets on the same network. A stable Wi-Fi connection also enables access to cloud printing features and remote printing options for greater convenience.
How Do You Download and Install HP OfficeJet Printer Drivers?
Printer drivers are essential because they allow the computer to communicate with the printer effectively. During the installation stage, the HP 123 Setup process guides users in obtaining the correct software for their printer model.
Follow these steps:
- Identify your HP OfficeJet printer model.
- Visit the official HP support website.
- Search for your printer model.
- Download the latest driver package.
- Run the installation file.
- Follow on-screen instructions.
- Select either USB or wireless connection.
Installing updated drivers improves compatibility, printing speed, and overall functionality. It also helps users access advanced printer features such as scanning, duplex printing, and maintenance tools available through HP software applications.
How Can You Complete the Printer Setup on Windows and Mac Devices?
After driver installation, the printer must be configured properly on your operating system. Using the HP 123 Setup procedure ensures that both Windows and Mac users can complete the installation successfully.
For Windows users:
- Open Settings and select Printers Scanners.
- Click Add a Printer.
- Choose the detected HP printer.
- Complete the installation wizard.
For Mac users:
- Open System Settings.
- Navigate to Printers Scanners.
- Click the Add Printer option.
- Select the HP OfficeJet printer.
- Finish the setup process.
After configuration, perform a test print to verify that the printer and computer are communicating correctly. Successful testing confirms that the setup has been completed properly.
What Common Problems Can Occur During Printer Setup and How Can You Fix Them?
Some users may face installation issues while setting up their printers. Fortunately, most problems can be resolved quickly. During troubleshooting, the HP 123 Setup guidelines can help identify and solve common errors.
Common issues include:
- Printer not detected by the computer.
- Wi-Fi connection failures.
- Driver installation errors.
- Offline printer status.
- Slow printing performance.
Possible solutions:
- Restart the printer and computer.
- Verify Wi-Fi credentials.
- Reinstall printer drivers.
- Update operating system software.
- Check network stability.
- Run HP diagnostic tools.
Regular software updates and proper maintenance can prevent many setup-related problems and improve long-term printer performance.
Frequently Asked Questions
1. How long does it take to set up an HP OfficeJet printer?
A complete printer installation typically takes between 15 and 30 minutes. The duration depends on network availability, driver installation speed, and device compatibility.
2. Can I connect my HP OfficeJet printer without a USB cable?
Yes, most modern HP OfficeJet printers support wireless setup. You can connect the printer directly to a Wi-Fi network and complete installation without using a USB cable.
3. Why is my printer not connecting to Wi-Fi?
Incorrect passwords, weak signals, or router issues often cause connection problems. Restarting the router and printer usually helps establish a successful connection.
4. Do I need to install printer drivers on every device?
Yes, each computer generally requires the appropriate printer drivers. However, some mobile devices can print using built-in wireless printing technologies.
5. What should I do if the printer appears offline?
Check network connectivity, restart the printer, and ensure it is selected as the default printer. Updating drivers can also help resolve offline status issues.