Composite Door Panel Replacement: A Comprehensive Guide
Composite doors have become increasingly popular in modern homes due to their durability, security, and aesthetic appeal. Nevertheless, gradually, the panels of these doors can end up being damaged or used, requiring replacement. This detailed guide will stroll you through the process of renovate composite door door panel replacement, offering step-by-step instructions, useful tips, and answers to often asked questions.
Comprehending Composite Doors
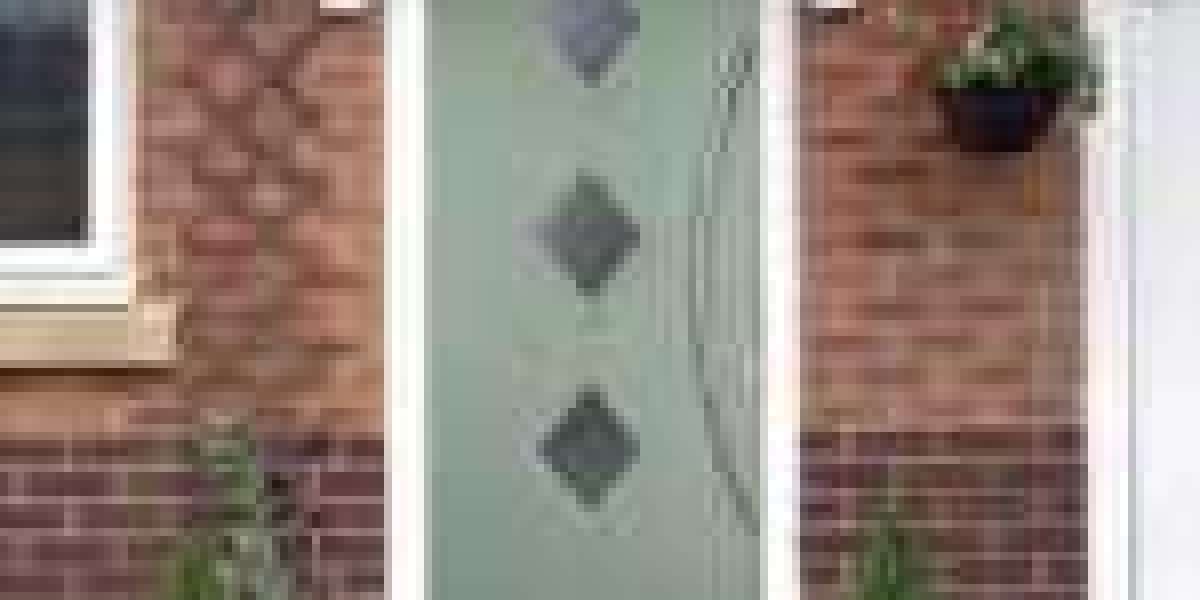
Composite doors are made from a mix of materials, consisting of wood, plastic, and sometimes metal. These products are designed to simulate the appearance of standard wood doors while providing enhanced sturdiness and resistance to weathering. Composite doors are known for their energy efficiency, security, and low maintenance requirements.
When to Replace Composite Door Panels
Before diving into the replacement process, it's essential to determine whether your composite door repair team door panels require to be changed. Here are some signs that indicate it may be time for a panel swap:
- Visible Damage: Cracks, damages, or chips in the panel.
- Weathering: Fading, peeling, or warping due to exposure to the aspects.
- Security Concerns: Loose or jeopardized panels that pose a security danger.
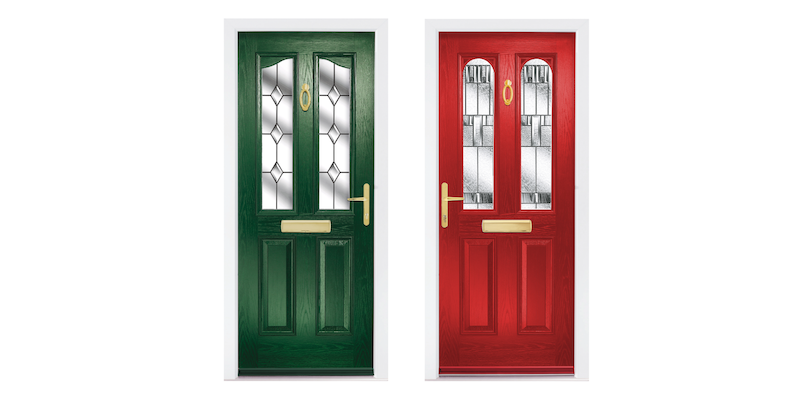
- Aesthetic Preferences: Desire to alter the appearance of your door to match brand-new interior or exterior decor.
Tools and Materials Needed
Before you start the replacement process, gather the following tools and products:
- New Composite Door Panel: Ensure it matches the size and style of your existing panel.
- Screwdriver: For removing screws and fasteners.
- Rubber Mallet: For gently tapping the panel into location.
- Energy Knife: For cutting any excess product.
- Caulk Gun and Silicone Sealant: For sealing spaces and guaranteeing a watertight fit.
- Safety Gear: Gloves and security glasses for protection.
Step-by-Step Guide to Composite Door Panel Replacement
Prepare the Work Area
- Clear the location around the door to make sure a safe and unobstructed work area.
- Set a drop cloth or protective covering to secure the floor.
Remove the Existing Panel
- Use a screwdriver to remove the screws or fasteners that secure the panel to the door frame.
- Thoroughly pry the panel out of the frame, using a rubber mallet if necessary to prevent harming the surrounding structure.
Examine the Door Frame
- Check the door frame for any damage or wear. If essential, repair or replace any damaged elements.
- Tidy the frame to make sure a smooth and tidy surface area for the new panel.
Set Up the New Panel
- Position the new composite door panel in the frame, guaranteeing it is centered and aligned.
- Utilize a rubber mallet to gently tap the panel into location, making sure it is secure and flush with the frame.
Secure the Panel
- Reattach the screws or fasteners, tightening them securely but not a lot that they trigger the panel to warp.
- Confirm the positioning and fit of the panel to ensure it is level and secure.
Seal the Gaps
- Use a bead of silicone sealant around the edges of the panel to develop a watertight seal.
- Smooth the sealant with a caulk smoothing tool to ensure a tidy and professional finish.
Evaluate the Door
- Open and close the door a number of times to guarantee it operates smoothly and the brand-new panel is correctly installed.
- Look for any spaces or leakages and make modifications as required.
Final Touches
- Tidy the door and panel with a moderate detergent and water to remove any dirt or residue.
- Apply a fresh coat of paint or stain, if preferred, to match the rest of your door and exterior.
Tips for a Successful Replacement
- Step Twice, Cut Once: Ensure the new panel is the specific shapes and size of the old one to prevent fitting issues.
- Usage High-Quality Materials: Invest in top quality composite panels and sealants to ensure longevity and efficiency.
- Take Your Time: Rushing the process can cause mistakes. Take your time to ensure an accurate and professional installation.
- Seek Professional Help: If you are uncertain about any action of the procedure, consider seeking advice from a professional for guidance.
FAQs
Q: Can I replace a composite door panel myself?A: Yes, with the right tools and a little persistence, you can replace a composite door panel yourself. However, if you are not comfy with the procedure, it is recommended to seek professional support.
Q: How long does it take to change a composite flush door repair door panel?A: The whole procedure normally takes a couple of hours, depending on your experience and the intricacy of the job. Guarantee you have sufficient time to complete the job without rushing.
Q: Can I paint over a composite door Repairmywindowsanddoors.co.uk panel?A: Yes, composite door panels can be painted. Nevertheless, it is necessary to utilize a paint that appropriates for composite materials and to correctly prepare the surface by cleaning and sanding it before using paint.
Q: What should I do if the new panel doesn't fit?A: If the brand-new panel does not fit, double-check your measurements and guarantee the panel is the appropriate size. If needed, cut the panel with an energy knife to attain the ideal fit. Constantly evaluate the fit before protecting the panel in location.

Q: How typically do composite door panels require to be changed?A: Composite door panels are highly long lasting and can last for several years with proper care. However, elements such as weathering, damage, and wear can impact their life-span. Routine maintenance and inspections can assist extend the life of your composite door panels.
Replacing a composite door panel is a workable DIY project that can substantially improve the appearance and performance of your door. By following the steps outlined in this guide and utilizing the right tools and products, you can achieve a professional and lasting outcome. Whether you are resolving damage, boosting security, or merely updating the appearance of your home, composite door panel replacement is an important ability to have in your home improvement arsenal.